
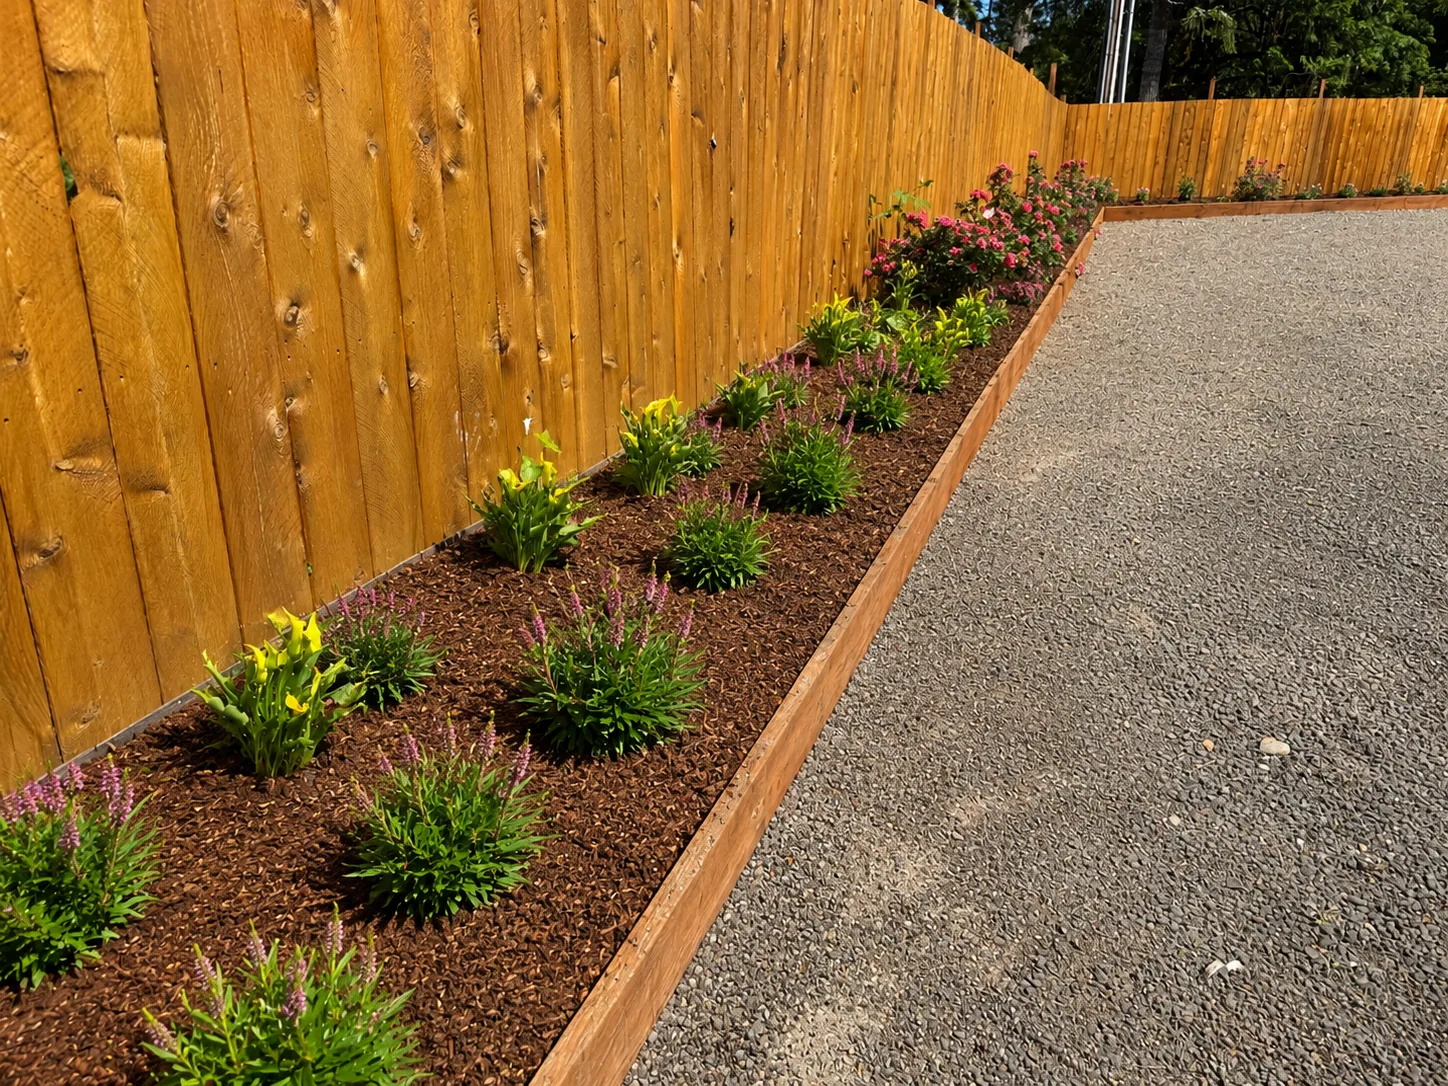
Choose the right plant and place
Match mature size, sunlight, soil drainage and water needs to the location. Allow room beside paths, buildings, fences and overhead wires. Group plants with similar watering needs. Use a pot or marker to try the layout before digging, then locate utilities and private irrigation.
Plant in these steps
- Water and inspect the root ball. A dry nursery root ball can shed water after planting. Moisten it and carefully remove the pot. Handle a tree by the root ball, not by pulling its trunk.
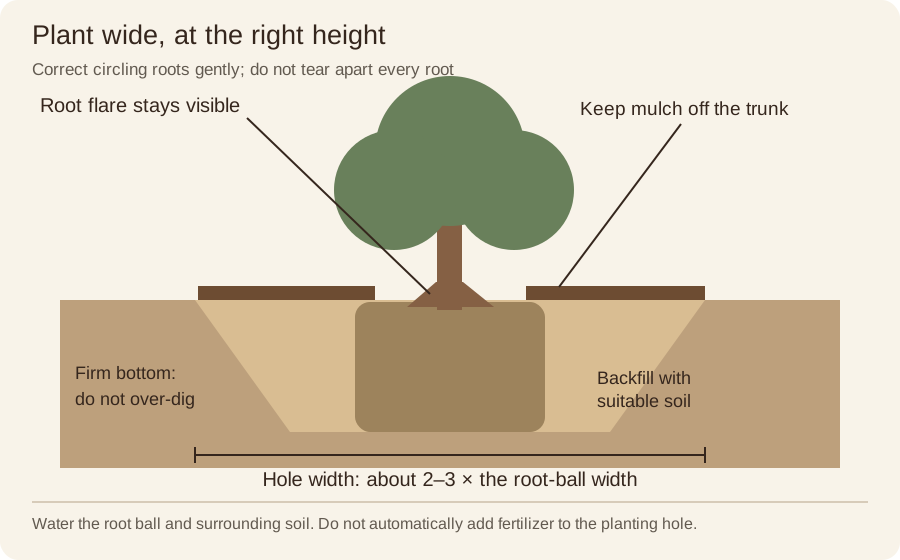
- Find the proper soil level. For a tree, expose the root flare—the point where the trunk widens into roots. Excess nursery soil can hide it. Keep that flare visible at finished grade.
- Dig wide, not excessively deep. For most container trees and shrubs, a hole about 2–3 times the root-ball width gives roots space to spread. Set the root ball on firm soil at the correct depth; do not dig twice as deep as the pot.
- Correct circling roots. Gently tease out small matted roots. Straighten or selectively prune roots circling the container as appropriate for the plant. Avoid indiscriminately breaking apart all roots; severely root-bound trees may need nursery or arborist advice.
- Place and backfill. Check that the plant is upright and at the intended height. Backfill with suitable existing soil, gently firm and water to settle pockets. For broad bed improvements, amend the bed rather than only creating a rich pocket inside the hole.
- Mulch and water thoroughly. Water the root ball and surrounding soil. Spread an appropriate mulch layer while keeping the trunk and plant crown clear.
Fertilizer: do not automatically add it to the hole
More fertilizer does not mean faster establishment. New tree roots can be stressed by concentrated fertilizer, and ISA recommends avoiding fertilizing at planting. Use a soil test and plant-specific advice before feeding. For shrubs and perennials, follow the nursery and product instructions; never place a strong fertilizer dose against roots. Water and correct planting depth matter first.
A watering routine that actually works
- Check the root ball often at first. Feel beneath the surface, not just the mulch. The potting mix can be dry while nearby clay is wet.
- Water slowly at the roots. A drip layout or slow soak should moisten the root ball and adjacent soil without flowing away. Move emitters outward as the root system expands.
- Adjust with the weather. Hot, windy weather and sandy soil may need more frequent checks; cool wet soil needs less. Avoid keeping roots permanently saturated.
- Continue through establishment. New woody plants may need supplemental dry-season watering for several years. Inspect stakes and ties and remove them when no longer needed.
Finish and maintain the bed
Measure the open bed area before ordering bark. Maintain an appropriate total mulch depth—often about 2–3 inches for wood mulch around ornamental plantings—without piling it against trunks. Inspect settling after the first watering and correct exposed roots without burying the flare. Recheck plant spacing before everything reaches mature size.
Use your own measurements and adjust the product assumptions before ordering.
Open the materials calculator →For the watering layout, see drip irrigation for beds.
Further reading & product instructions
Residential resources used for these explanations. Follow the instructions for the product you actually choose.