
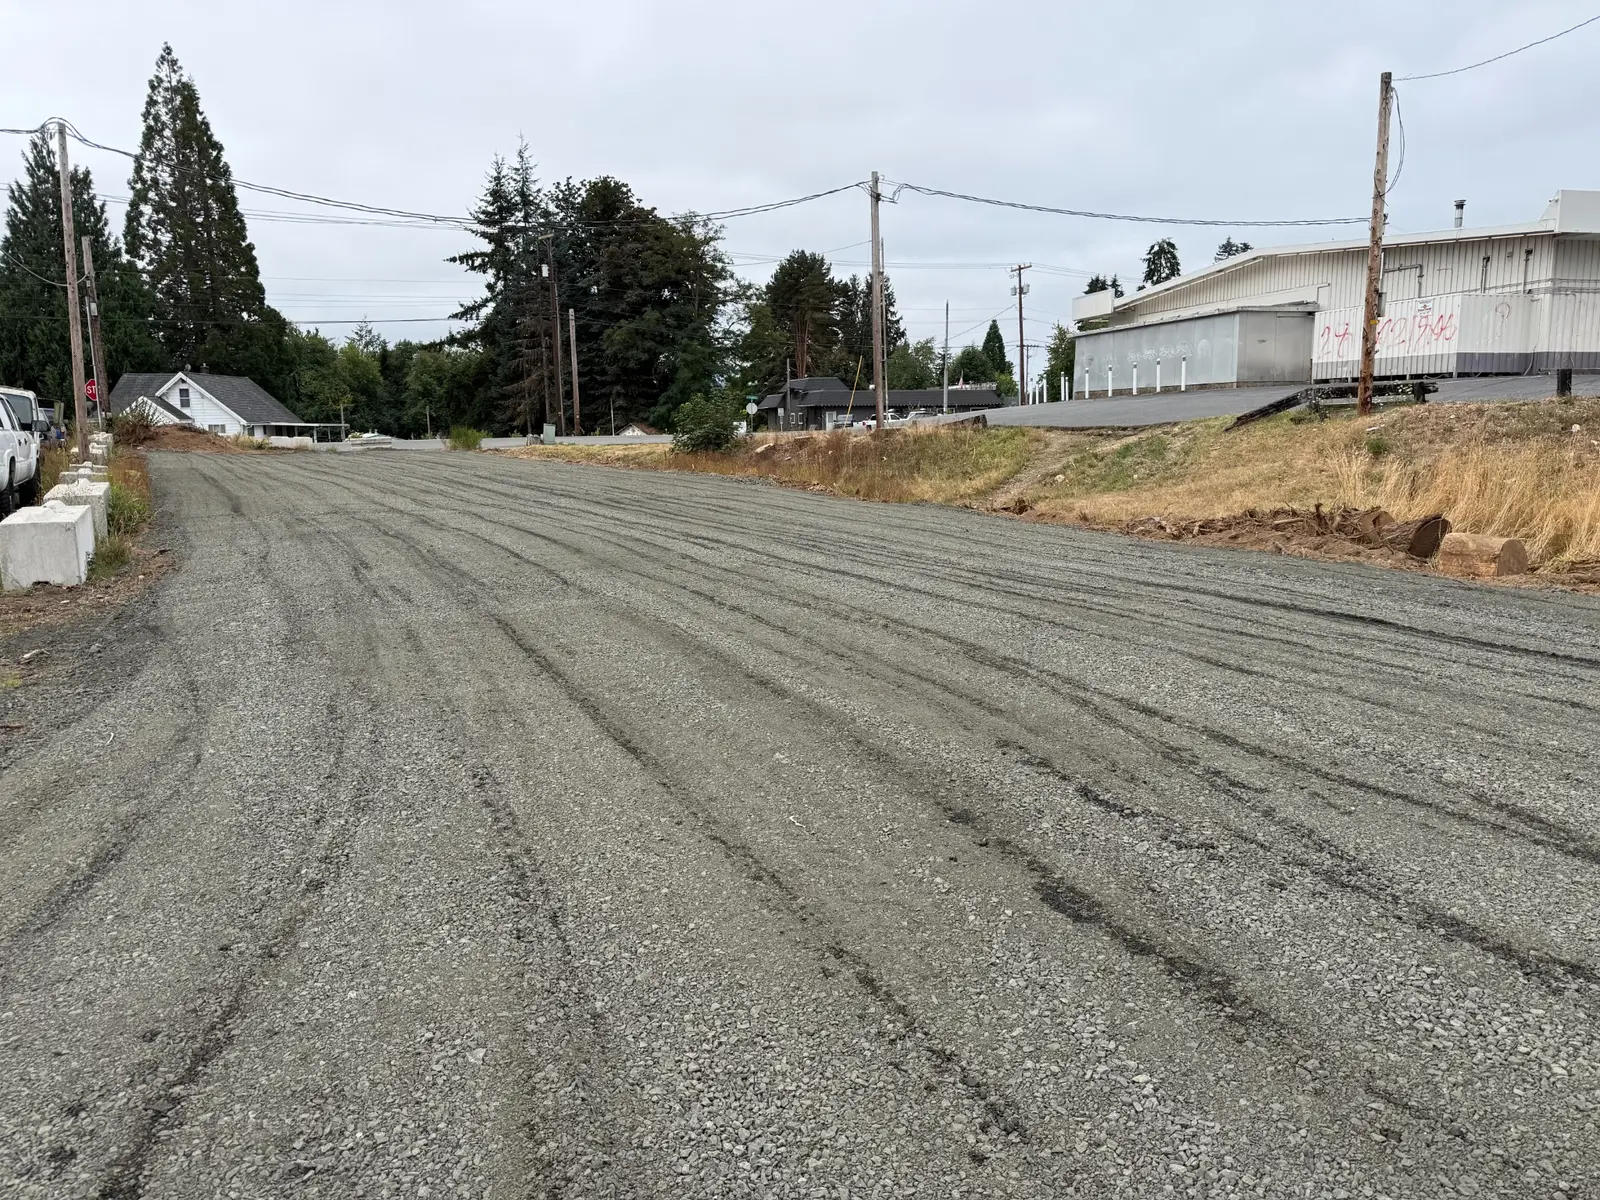
Start with where the water will go
Walk the route during or just after rain. Mark soft spots, water coming off the uphill side and the place runoff can safely leave. A ditch beside a driveway can intercept hillside water and collect surface runoff, but it needs a continuous outlet. A ditch that ends in a low pocket simply holds water beside the base.
Keep the ditch outside the supporting shoulder; do not undercut the road edge. Size and stabilize it for the flow and slope. A grassed shallow swale may suit gentle ground; steeper or concentrated flow may need stone protection, check structures or a designed drain. Roadside connections, streams and wet areas need approval before changes.
New driveway: the work in order
- Mark the route and finished height. Allow turning room, gates and delivery access. Check property lines and call 811. Establish an outlet before moving soil.
- Remove sod, roots and unsuitable topsoil. Save usable topsoil for landscaping. Expose firm supporting soil. If it ruts, squeezes water or pumps under equipment, address drainage and weak ground before adding surface gravel.
- Prepare the subgrade. Shape the soil under the driveway so water is not trapped. Place separation geotextile where needed to keep aggregate from mixing with fine soil. Use road-base fabric selected for the site, not thin weed-barrier fabric.
- Build the base. Angular clean rock around 1½–3 inches can suit selected wet or soft areas. A compacted dense-graded base may suit firmer sites. Choose the rock size and layer thickness together; large rock in a thin layer will not form a reliable platform.
- Seat or compact each layer. Use equipment suited to the rock and soil. Minus needs suitable moisture to bind; clean angular stone is seated and densified. Work in controlled lifts instead of spreading the entire depth and rolling only the top.
- Add the wearing surface. Spread ¾-inch-minus crushed rock, shape the crown or cross-slope and compact it. Keep the finished edge able to shed water into the drainage path.
- Check after rain. Watch for ponding, edge erosion or new soft spots. Correct them early rather than repeatedly covering them with fresh rock.
An example starting section—not a universal minimum
| Layer | Example for estimating | What can change it |
|---|---|---|
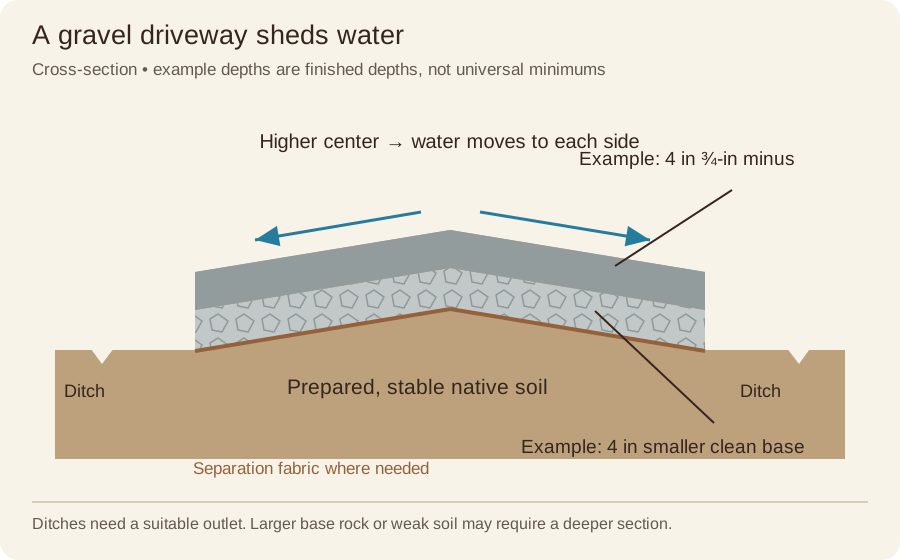
| Surface | 4 inches of ¾-inch minus, finished compacted depth | Existing rock may need only a light refresh; heavy loads or poor support need a different section. |
| Base | 4 inches of smaller angular clean base as a planning example | 1½–3-inch products are options, not interchangeable in a 4-inch layer. Larger stone and soft ground often require a deeper section. |
| Separation | Geotextile when soil conditions call for it | Fabric does not replace drainage or removal of unstable ground. |
| Support | Prepared, stable native soil | Mud, organic soil and buried roots need attention first. |
“Minus” means the product includes smaller particles and fines that help it pack tightly. “Clean” rock has little or no fines and lets water move through it. Clean rock is not automatically the right base on every property. Ask the quarry and installer which product will support your expected traffic.
Crowning: give rain a path off the road
A crown makes the center higher than the edges. Water travels to the shoulders and ditch instead of collecting in wheel tracks. A driveway on a hillside may work better with a single cross-slope, depending on where runoff can safely go.
For illustration, a 3% crown across each 6-foot half of a 12-foot driveway raises the center about 2.2 inches above the edges. That is an example, not a required slope: access, erosion and vehicle use affect the choice. Shape the base and surface consistently so the top layer does not become thin at the crown.
Existing driveway: fix the cause, then reuse the rock
- Find the failure. Potholes are often worsened by standing water and traffic; washboarding also involves loose material and wheel action. Deep recurring ruts can indicate a weak base.
- Open the drainage path. Restore a blocked ditch or add a suitable one, remove raised edge berms and establish an outlet. Regrade the crown where practical.
- Rework the damaged surface. Break up the pothole edges and blend material through the damaged depth where enough aggregate remains. Filling only the hole usually leaves a weak patch.
- Power rake and reshape. Recover usable edge gravel, separate turf/debris and redistribute the existing surface. Avoid mixing underlying mud into good rock.
- Compact and top up only where needed. New aggregate may be needed for thin areas, lost fines, severe contamination or base repairs. Reusing sound material can reduce the amount purchased and hauled.
How the power rake saves work
Our Takeuchi-mounted Virnig power rake uses a powered toothed drum to loosen and work the upper layer. Adjustable gauge wheels help control depth; angling the drum moves loosened rock and debris toward one side. Repeated passes blend high and low spots and help windrow grass, roots and loose debris for collection.
It combines loosening, sorting and finish grading across a wide pass, reducing hand raking and some material handling. It can reclaim overgrown gravel edges, but thick woody brush or heavy turf may need separate removal. It is not a roller, a deep-soil stabilizer or a cure for a flooded base. The final surface still needs shaping and appropriate compaction.
Use your own measurements and adjust the product assumptions before ordering.
Open the driveway calculator →Maintain the finished surface
- Clear leaves and sediment from ditches and culvert openings without disturbing the pipe.
- Rework small potholes before they spread; preserve the crown during touch-ups.
- Keep gravel from building a dam along the edges.
- Ask your contractor to specify finished layer depths, drainage outlet and compaction method in the estimate.
Further reading & product instructions
Residential resources used for these explanations. Follow the instructions for the product you actually choose.